Prepare GitHub Repository
To set up the CI/CD pipeline with GitHub Actions, we first need to prepare the repository containing the sample application source code and configure secure environment variables (secrets) in GitHub.
Objectives of this section
- Clone the application source code repository to your local machine.
- Create a new GitHub Repository in your personal account.
- Push the cloned source code to the newly created GitHub Repository.
- Configure GitHub Repository Secrets to store AWS credentials and the ECR URI.
Clone Repository to Local Machine
You need to clone the repository containing the sample application source code to your local machine so you can modify and push code to your own repository.
Open Terminal / Command Prompt: Open a command line window on your computer.
Clone the original Repository: Download the source code from the sample repository to your machine.
git clone https://github.com/HoangfLong/aws-container-security-workshop.git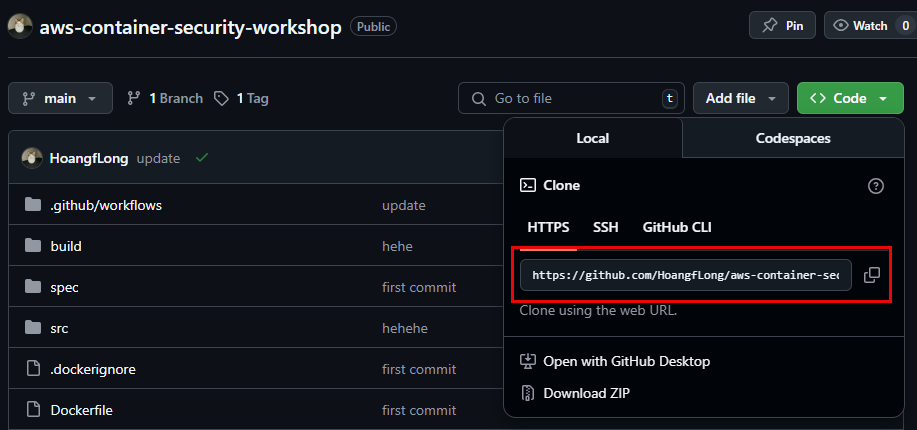
Create a New Repository on Personal GitHub and Push Source Code
After cloning the source code, you need to create a new repository on your GitHub account and push this source code to it. This will be the repository that your GitHub Actions will monitor.
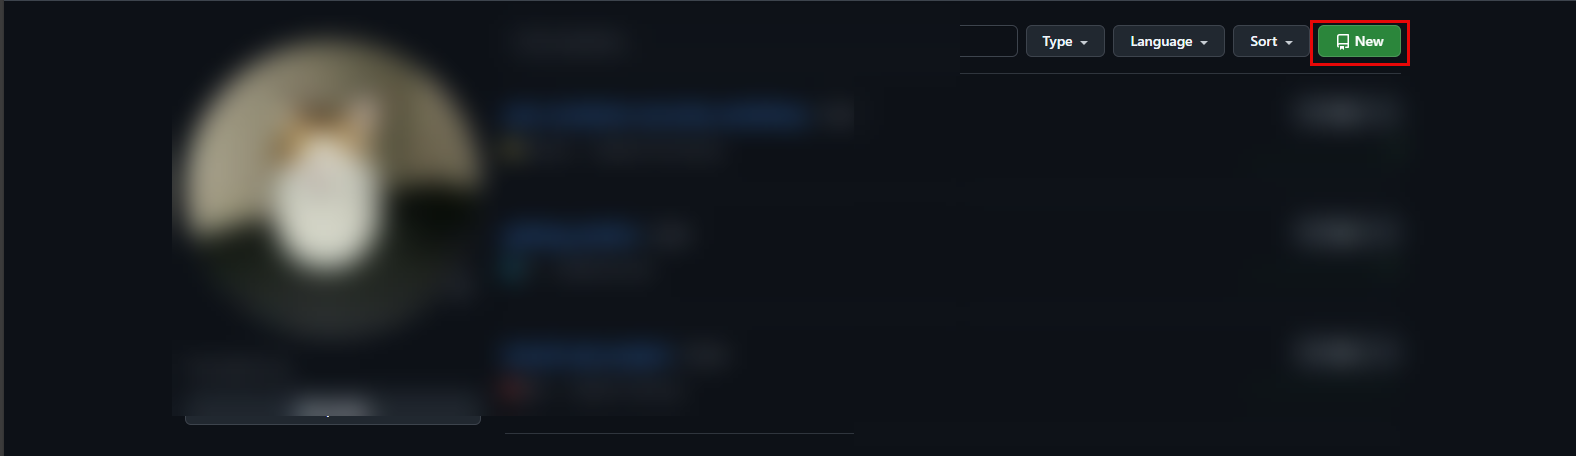
Create a New Repository on GitHub:
- Log in to your GitHub account.
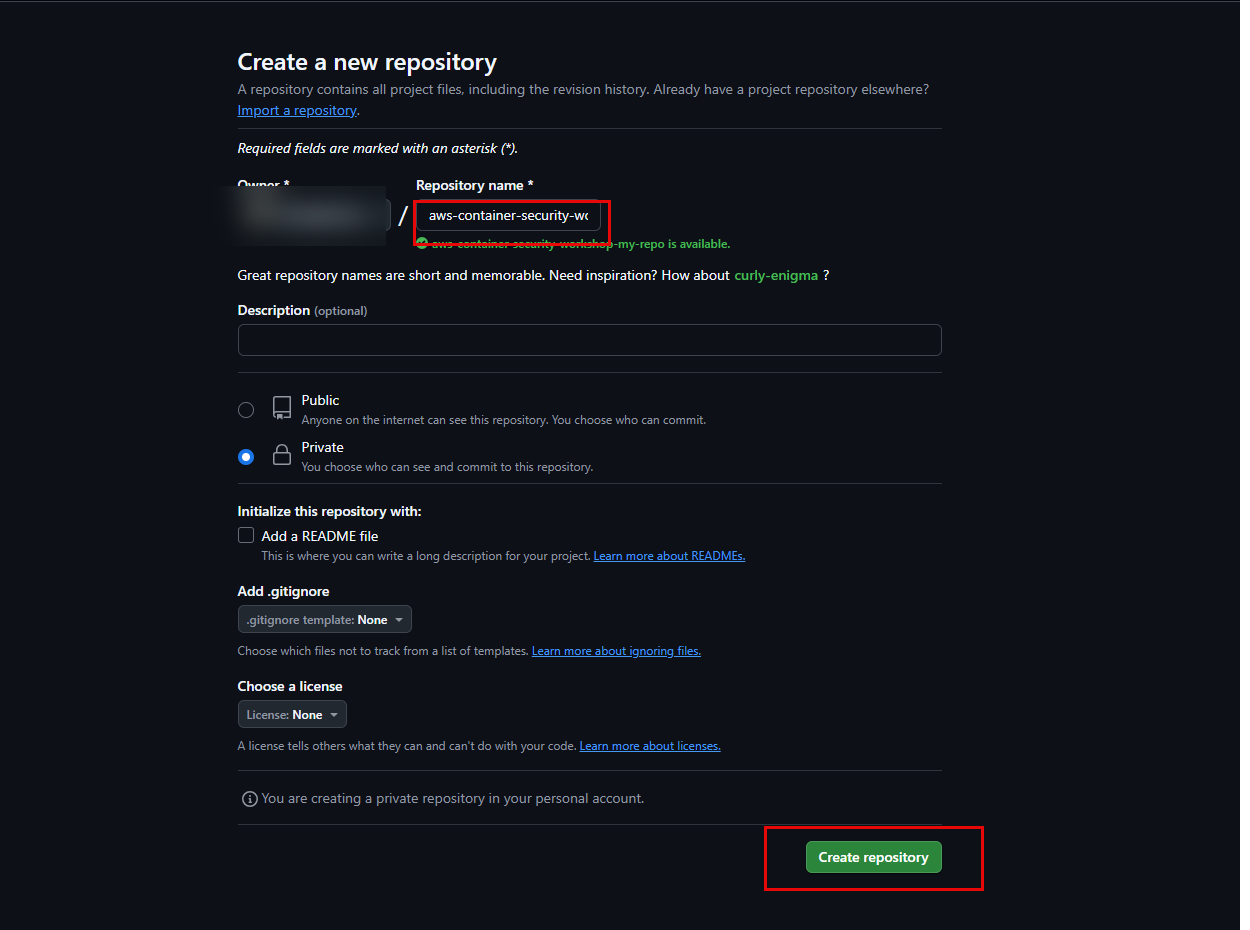
- Click the + sign in the top-right corner, then select New repository. Name your repository (e.g.,
aws-container-security-workshop-my-repo), choose Public or Private as desired, and DO NOT check “Add a README file” or other initialization options. Finally, click Create repository.
Link and Push Source Code to the New Repository:
- Return to your Terminal/Command Prompt (ensure you are in the cloned project directory).
- Remove the old remote link (if any):
git remote remove origin - Add a link to your new repository on GitHub:(Replace
git remote add origin [https://github.com/YOUR_GITHUB_USERNAME/YOUR_NEW_REPOSITORY_NAME.git](https://github.com/YOUR_GITHUB_USERNAME/YOUR_NEW_REPOSITORY_NAME.git)YOUR_GITHUB_USERNAMEandYOUR_NEW_REPOSITORY_NAMEwith your information). - Rename the default branch to
main(if needed):git branch -M main - Push the source code to your new repository:(You may be asked to log in using your GitHub username and Personal Access Token).
git push -u origin main

Configure GitHub Repository Secrets
For GitHub Actions to securely interact with your AWS account and Amazon ECR, we need to store sensitive information (like the IAM User’s Access Key, Secret Key, AWS Region, and ECR URI) as GitHub Repository Secrets. This ensures these details are not exposed in your source code or workflow logs.
Access Repository Settings: From your pushed-code repository page on GitHub, click on the Settings tab.

Select Secrets and Variables: In the left navigation pane, scroll down and select Secrets and variables, then choose Actions.
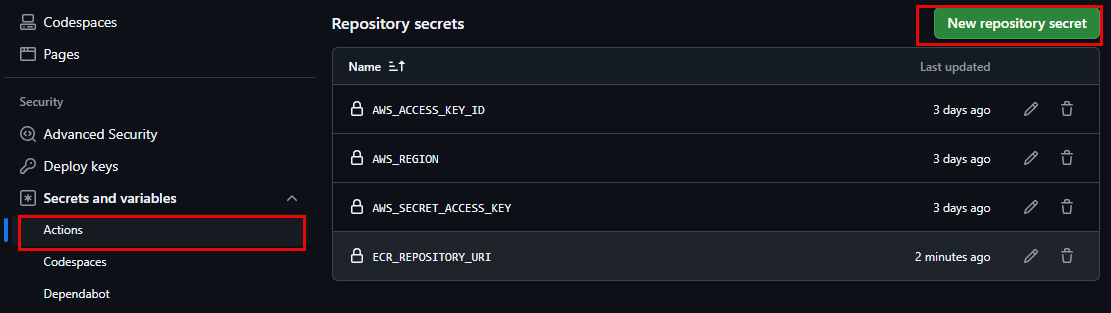
Add Required Secrets: Click the New repository secret button to add each secret one by one:
AWS_ACCESS_KEY_ID: Paste the Access Key ID value created in AWS (from Section 3.1).AWS_REGION: Paste your AWS Region value (e.g.,ap-southeast-1orus-east-1). (Choose the Region where you created the IAM User and ECR Repository).AWS_SECRET_ACCESS_KEY: Paste the Secret Access Key value created in AWS (from Section 3.1).ECR_REPOSITORY_URI: Paste the URI of yourfcj-workshop-appECR Repository (from Section 3.1).
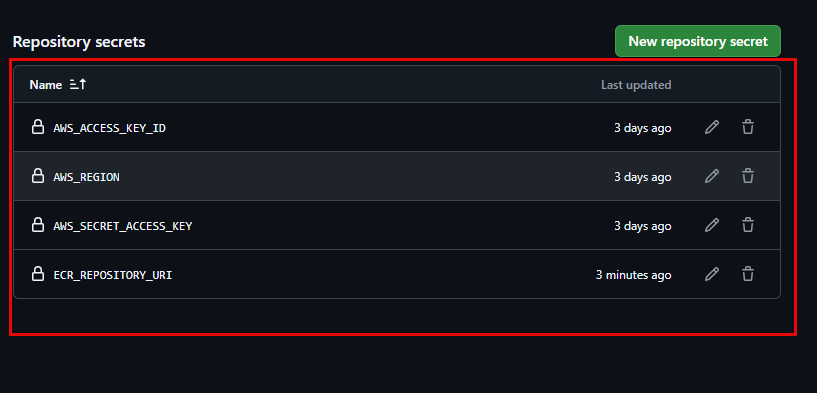
After adding, you will see these four secrets in the list. They will be used securely by GitHub Actions without being exposed.